Managing users & tool instances
This guide is intended for makerspace admins and users who have permission to manage a makerspace in Pinpoint.
Roles
Super admin
As a super admin, you have full administrative access to all spaces within Pinpoint. Super admins can:
- Create and edit tool instances.
- Manage space permissions.
- Configure Parchment Digital Badges integration.
- Manage users.
- Update badge requirements for tools.
Space admin
Space admins can administer only their assigned spaces. A super admin must grant space admin permissions. Space admins can:
- Create and edit tool instances.
- Manage space permissions.
- Configure Parchment Digital Badges integration.
- Manage users.
Modifying permissions
Follow these steps to add or remove space admin access:
Open user details page
-
Navigate to Pinpoint Admin.
-
Select the space you want to manage.
-
Click "Space admins".
-
The space admin permissions table lists the current admins.
Add space permission
-
Click the plus (+) icon next to the search bar.
-
Enter the UID of the user you want to grant space admin access to.
-
Click the check (✓) icon to confirm or the X icon to cancel.
- You can only add UIDs for existing Pinpoint users.
- The system prevents duplicate permissions.
Delete space permission
-
Find the user in the table and click the trash icon in the "Action" column.
-
Click the check (✓) icon to confirm or the X icon to cancel.
Managing tool instances
A tool defines equipment and its training requirements. A tool instance is an individual unit in a space. Tools are shared across spaces; tool categories organize instances within one space. Follow these steps to add or update tool instances in your space:
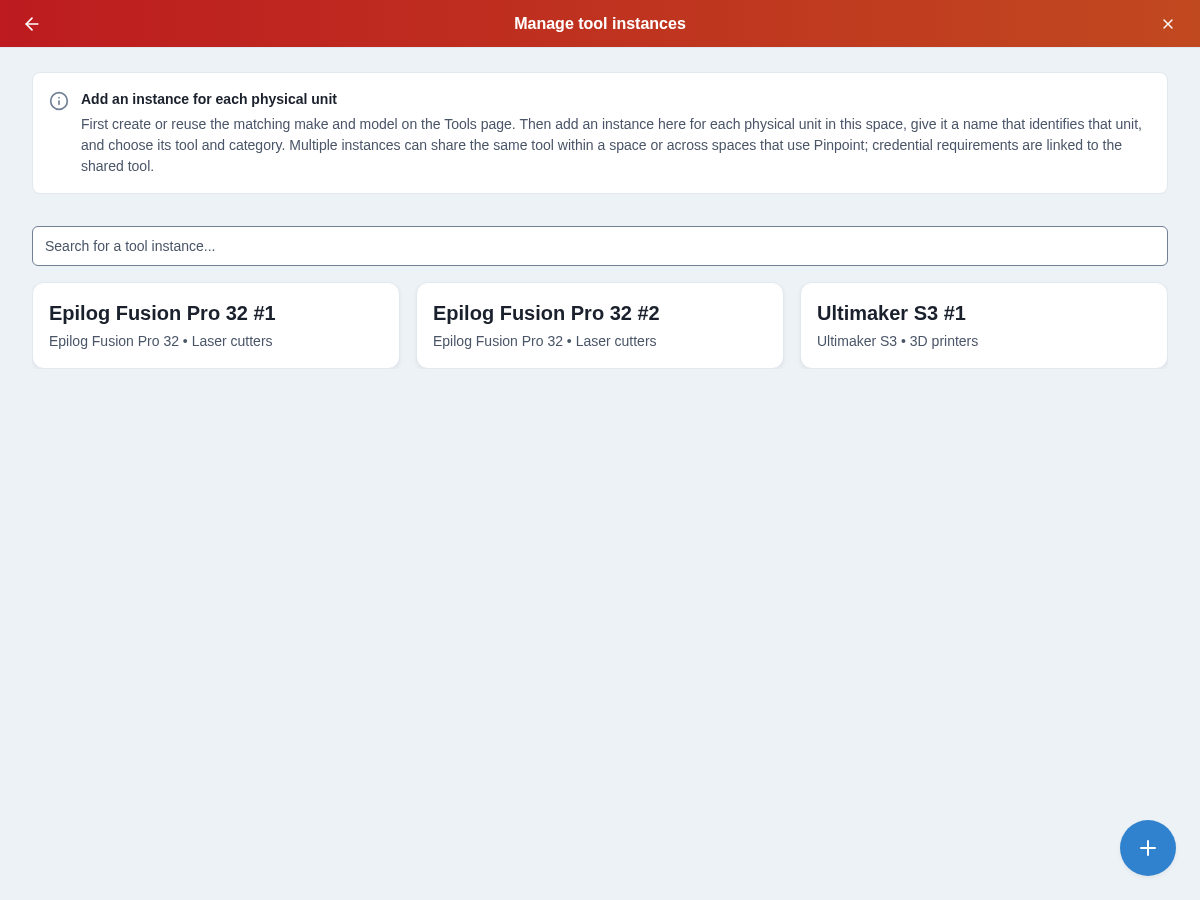
Open manage tool instances page
-
Navigate to Pinpoint Admin.
-
Select the space you want to manage.
-
Choose Tool instances.
-
Select a tool instance to view its details, or add one as described below.
Add tool instance
-
Click the plus (+) icon in the bottom right corner.
-
Fill out the tool instance details:
- Tool instance name: A descriptive label for the tool instance.
- Tool: Select from dropdown (learn more about tools).
- Tool Category: Select from dropdown (learn more about tool categories).
-
Select Create tool instance. A confirmation appears and the instance list reloads with the new record. Use the back arrow to leave without creating an instance.
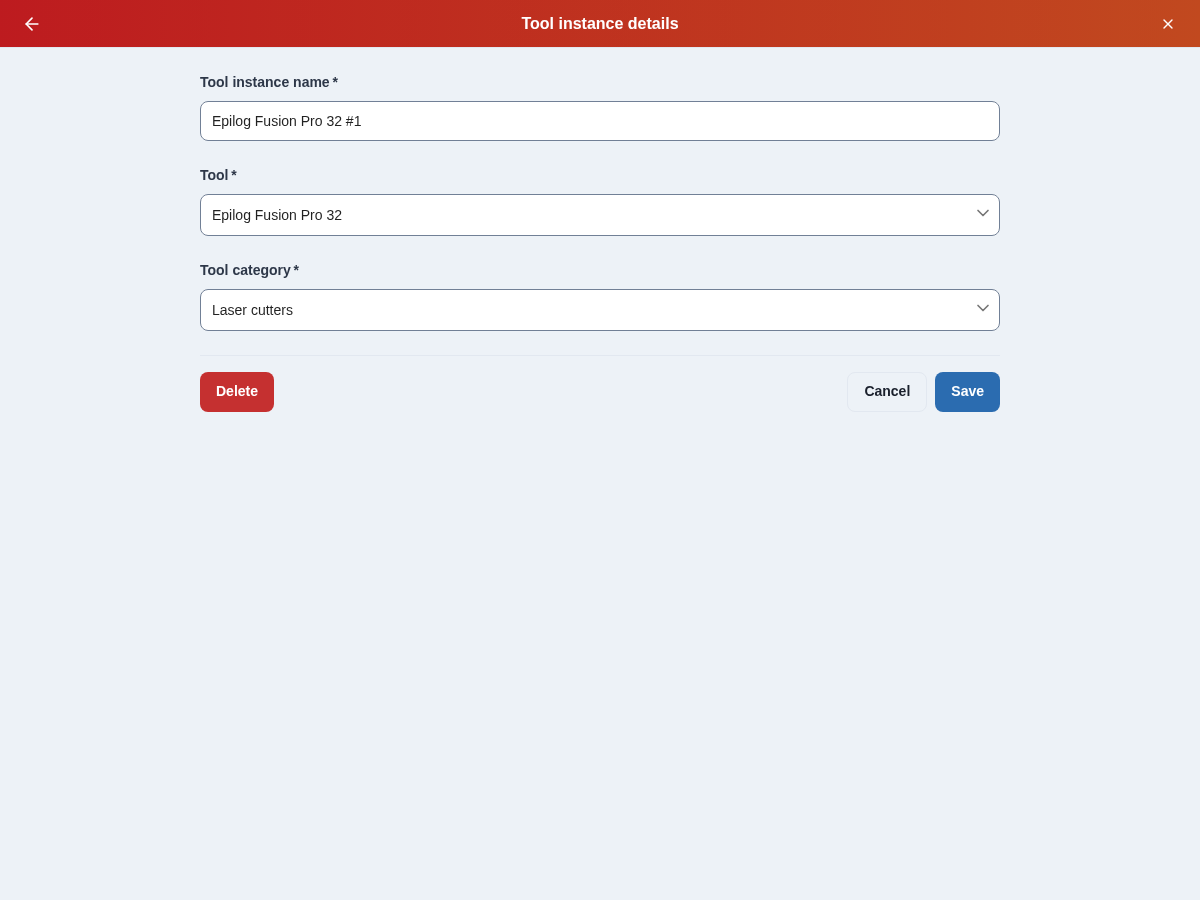
Update tool instance
-
Click on the tool instance you want to update.
-
Update the tool instance details:
- Tool instance name: Update the tool instance's label.
- Tool: Select from dropdown (learn more about tools).
- Tool Category: Select from dropdown (learn more about tool categories).
-
Select Save to apply changes. The form stays open and shows a confirmation. Select Cancel to return to the instance list without saving further changes.